Getting started
Installation
Clone ATOM repository and install dependencies
Clone the atom repository to a directory somewhere inside your catkin workspace:
git clone https://github.com/lardemua/atom
then install requirements:
sudo pip3 install -r requirements.txt
Also, you need to install the following packages using apt-get
sudo apt-get install ros-noetic-ros-numpy qt5-default
Clone RViz fork
Some of the functionalities in ATOM, i.e., depth semi-automatic labeling and depth manual labeling, make use of a special RViz fork that allows for mouse clicking functionality.
If you are interested in using one of these functionalities you have to clone it to your catkin workspace:
git clone https://github.com/miguelriemoliveira/rviz
To be integrated into RVIZ
The functionality extends the image display to suport mouse clicking. We are working on integrating this in the RViz main branch, but this is not available yet. More information here:
Set environment variables
We often use two environment variables to allow for easy cross machine access to bagfiles and datasets. If you want to use these you can also add these lines to your .bashrc or .zhsrc, adjusting the paths according to your case:
export ROS_BAGS="$HOME/bagfiles"
export ATOM_DATASETS="$HOME/datasets"
and then you can refer to these environment variables when providing paths to atom scripts, e.g.:
roslaunch <my_robot_calibration> calibrate.launch dataset_file:=$ATOM_DATASETS/<my_dataset>/dataset.json
and you can also refer to them inside the calibration configuration file
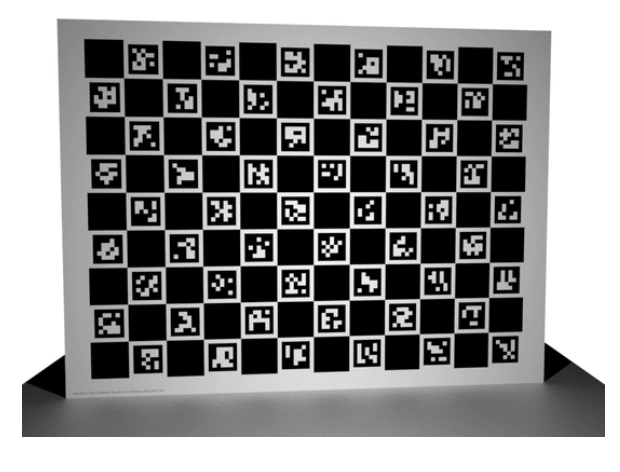
Calibration patterns
ATOM can be used with chessboard or charuco calibration patterns.
To calibrate our systems we purchased charuco calibration patterns from [calib.io](https://calib.io/products/charuco-targets?variant=9400455004207.
Note
Charuco boards are preferable to chessboard patterns, because of two main reasons: the first is that the charuco detection is more efficient when compared to the chessboard detection; the second is that the charuco pattern is detected even if it is only partially visible in the image, which is very usefull when the sensors in your system have small overlapping fields of view.
Basic usage
Unlike most other calibration approaches, ATOM offers tools to address the complete calibration pipeline. These are instructions for quick starting your robotic system calibration. If you need more details read through the Calibration Procedures.
Create a calibration package
rosrun atom_calibration create_calibration_pkg --name <my_robot_calibration>
Configure a calibration package
Edit the file:
<my_robot_calibration>/calibration/config.yml_ with your system information.
and then run:
rosrun <my_robot_calibration> configure
Set initial estimate
ATOM provides interactive tools based on rviz that allow the user to set the pose of the sensors to be calibrated, while receiving visual feedback.
Optional
If you consider that your initial sensor poses are already accurate, you may skip this procedure.
To use launch:
roslaunch <my_robot_calibration> set_initial_estimate.launch
Collect data
Collecting data produces an ATOM dataset, which is then used for calibrating the system.
roslaunch <my_robot_calibration> collect_data.launch output_folder:=~/datasets/<my_dataset>
Dataset playback
Dataset playback offers the possibility to visualize and correct the labels automatically produced during the collection stage.
Optional
If you trust that the automatic labels are correct, you may skip this procedure.
First launch the visualizer:
roslaunch <my_robot_calibration> dataset_playback.launch
and then:
rosrun atom_calibration dataset_playback -json $ATOM_DATASETS/<my_robot_calibration>/<your_dataset>/dataset.json -uic -si -ow
Calibrate sensors
Finally, run an optimization that will calibrate your sensors. First launch:
roslaunch <my_robot_calibration> calibrate.launch
Then, in a second terminal, run the calibrate script:
rosrun atom_calibration calibrate -json $ATOM_DATASETS/<my_robot_dataset>/dataset.json -v -rv -si
There are many different options to customize the calibration. Check the detailed description to know more.